BLOGGER TEMPLATES AND TWITTER BACKGROUNDS

Thursday, April 23, 2015

Glamping Slumber Party Extravaganza and S'more Cupcake Recipe

Emma's Glamping Slumber Party


This was a party that I had been wanting to plan for a long time!  My husband was going to be away on a business trip and I thought, what better time than while he was gone.  This was my daughters first official slumber party, and of course, being me, I had to go all out!

I utilized two rooms in my house, one for the actual "camping" and one for the food/activities.  For the decorations, I went with a pink chevron/burlap color pallet, keeping it a bit with nature (burlap), but girly at the same time (pink chevron).  For the "camping" room, I found this wonderful tutorial on how to make an A-frame tent and thought that would be perfect for the girls to camp in.  Let me tell you, I am not one with a power tool, but I seemed to put this piece together without any problems.  Of course with the help of my ever so crafty mom, who helped me hem up the fabric and attach the connecting pieces of elastic.  I made a super cute "Happy Campers" sign out of an old piece of scrap wood, burned around the edges with sticks from our backyard forming the words.  What is camping with out a camp fire?  I formed "logs" by rolling some old paper grocery bags and used a brown sharpie to make wood grain lines.  For flames, I used orange, red and yellow pieces of tissue paper and construction paper and placed battery operated, flickering tea light candles in several places under the papers.  I also gathered some long sticks and placed large cotton balls on the ends to mimic marshmallows.  The girls really got a kick out of it.  To provide more of an outdoor ambiance, I took several different shades of green paper streamers and hung them all over the room to make it look as if they were camping under the limps of a large tree.  I also sealed off the room with two large, brown plastic table cloths so that it would be dark, even during the day.  To add a little extra pizzaz, I hung white christmas lights on the ceiling to look like bright stars.
For the table decorations, I covered each table with a burlap table cloth.  For the centerpieces on the tables, I picked several different kinds of wild flowers and placed them in a mason jar, and surrounded that with a couple large pinecones.

For the food/dessert table decorations, I used a large burlap table cloth, and set up a runner, using several plastic "grass" squares I had gotten after Easter at Hobby Lobby.  I used a pine tree that has made several appearances in my parties on one end of the table and a cute pink lantern at the other end of the table (also from Hobby Lobby).  Scattered about the table were acorns and mini pinecones with food labels on them for each food item.  For the centerpiece of the table, I made a mini version of the A-frame tent with a small hanging lantern inside.  For the serving pieces on the table, I used several things that I already had that worked quite well with the theme of this party.  I had a wood slice cake stand that I got from World Market, a flat wood slice from Michael's, a large glass leaf platter, several "bare" cake stands that I got from PickYourPlum.com several years ago, tin soup cans and some serving baskets that I made from this awesome tutorial!

For the food/desserts, I wanted to keep it simple and of course stick with the camping theme.  What better food than hot dogs, peanut butter and jelly "tent" shaped sandwiches,  cheese puff "campfire flames", pretzel "match sticks", acorns (made from a hershey kiss, mini Nilla wafer and a small butterscotch chip),  hazelnut "twigs", "bait" (goldfish), "walking sticks" (wafer sticks), trail mix, dirt cups (chocolate pudding, crushed oreos and a couple gummy worms), S'more marshmallow pops and delicious S'more cupcakes (recipe below).  We ate the food on tin pie pans and drank "bug juice" (fruit punch) out of mason jars.  All of the food created quite the spread and needless to say, nobody went to bed hungry!

After the delicious food, we took on some fun camping activities.  While it was still light outside, we went on a nature scavenger hunt, finding things such as different colored leaves, different shapes rocks, feathers, bugs, pinecones, etc.  All the items were gathered in a paper bag and checked off of a list glued to the front.  After the scavenger hunt, we came inside to paint birdhouses.  We had also planned on drawing with sidewalk chalk, but we ran out of daylight.

For the party favors, I put together a "hobo" bag on a stick using a bandana and more large sticks I had gathered outside.  Inside each bandana was a flashlight, magnifying glass, water bottle, bug sunglasses and a disposable camera for capturing their favorite moments of the party.  Each guest also got a small pillow to sleep with and a hair bow that matched the color of the party.

We finished the night in PJ's, telling "scary" stories by the "campfire" with lots of giggles.  This party was probably one of my favorite ones to plan and it made it even better to see all the happy faces on the girls!

Hope you enjoyed this little Glamping Slumber Party run down and that you can gather some awesome ideas for your next party!

Until next time, enjoy this delicious recipe for Chocolate S'more Cupcakes!


Chocolate S'more Cupcakes

Ingredients

For the cake:

  • 2 1/4 cups plus 2 tablespoons sugar 
  • 1 3/4 cups all-purpose flour 
  • 3/4 cup plus 1 tablespoon cocoa powder (not Dutch-processed) 
  • 1 1/2 teaspoons baking powder 
  • 1 1/2 teaspoons baking soda 
  • 1 teaspoon salt 
  • 2 large eggs 
  • 1 cup whole milk 
  • 1/2 cup vegetable oil 
  • 2 teaspoons pure vanilla extract 
  • 1 cup boiling water 
  • 1 1/2 cups graham cracker crumbs (from about 20 squares) 
  • 1/3 cup unsalted butter, melted 
  • 9 ounces bittersweet chocolate, finely chopped
For the Marshmallow Frosting:

  • 8 large egg whites 
  • 2 cups sugar 
  • 1/2 teaspoon cream of tartar 
  • 2 teaspoons pure vanilla extract
Directions

For the cake:

  1. Preheat oven to 350 degrees. Line 2 standard muffin tins with cupcake liners; set aside. 
  2. Sift 2 cups plus 2 tablespoons sugar, flour, cocoa powder, baking powder, baking soda, and salt together into the bowl of an electric mixer. Using the paddle attachment, mix ingredients together on low speed. 
  3. In a large bowl, mix together eggs, milk, oil, and vanilla. Add to flour mixture and beat on medium speed for 30 seconds. Scrape down sides of bowl and continue mixing on medium speed for 2 minutes. Add boiling water and stir to combine; set cake batter aside. 
  4. Place graham cracker crumbs, remaining 1/4 cup sugar, and melted butter in a large bowl; stir until well combined. 
  5. Place 1 tablespoon graham cracker mixture into the bottom of each prepared muffin cup. Use the bottom of a small glass to pack crumbs into the bottom of each cupcake liner. Reserve remaining graham cracker mixture for topping. 
  6. Place 2 teaspoons chocolate in each muffin cup. Transfer muffin tins to oven and bake until the edges of the graham cracker mixture is golden, about 5 minutes. Remove from oven and fill each muffin cup three-quarters full with cake batter. Sprinkle each with remaining chocolate and graham cracker mixture. Return to oven and bake, rotating pans halfway through baking, until tops are firm and a cake tester inserted in the center comes out clean, 18 to 20 minutes. Transfer muffin tins to a wire rack and let cupcakes cool in pan for 10 minutes. Remove cupcakes from pan and let cool completely. 

For the frosting:

  1. Place egg whites, sugar, and cream of tartar in the heatproof bowl of an electric mixer. Set over a saucepan with simmering water. Whisk constantly until sugar is dissolved and whites are warm to the touch, 3 to 4 minutes. 
  2. Transfer bowl to electric mixer fitted with the whisk attachment, and beat, starting on low speed, gradually increasing to high, until stiff, glossy peaks form, 5 to 7 minutes. Add vanilla, and mix until combined. 
  3. Transfer frosting to a large pastry bag fitted with a large plain round tip. Pipe frosting in a spiral motion on each cupcake. Transfer cupcakes to a baking sheet. Using a kitchen torch, lightly brown the frosting, taking care not to burn the cupcake liners. Serve immediately or store in an airtight container, up to 2 days.

Monday, December 22, 2014

Christmas Movie Marathon/Hot Cocoa Bar Party and How to Age Your Own Wood!

Right before Halloween, I came up with this genius idea to put together a Halloween Movie Marathon party.  Unfortunately, the timing was off and the preparation didn't get far.  I loved the movie marathon idea and decided to plan a little bit further out and do a Christmas Movie Marathon party instead.

I wanted this party to be completely different than my last Ugly Christmas Sweater Party so I centered the theme around Hot Cocoa and Ugly Christmas Attire (I didn't want to limit everyone's creativity to just sweaters).  I sent out event invitations via Facebook and kept people up to date on fun things I was planning for the party.

For the Hot Cocoa/Dessert table, I used a plain red table cloth and dressed it up with a fabric garland from Michaels and some red and green ornaments from the Dollar Tree that were spread out on the table.  I used the two pine trees from my daughters Frozen birthday party on each side of the table and my vintage window as the backdrop and main focal piece.  I made a silver glitter Rudolph to place on the vintage window, so that it did not look so plain.

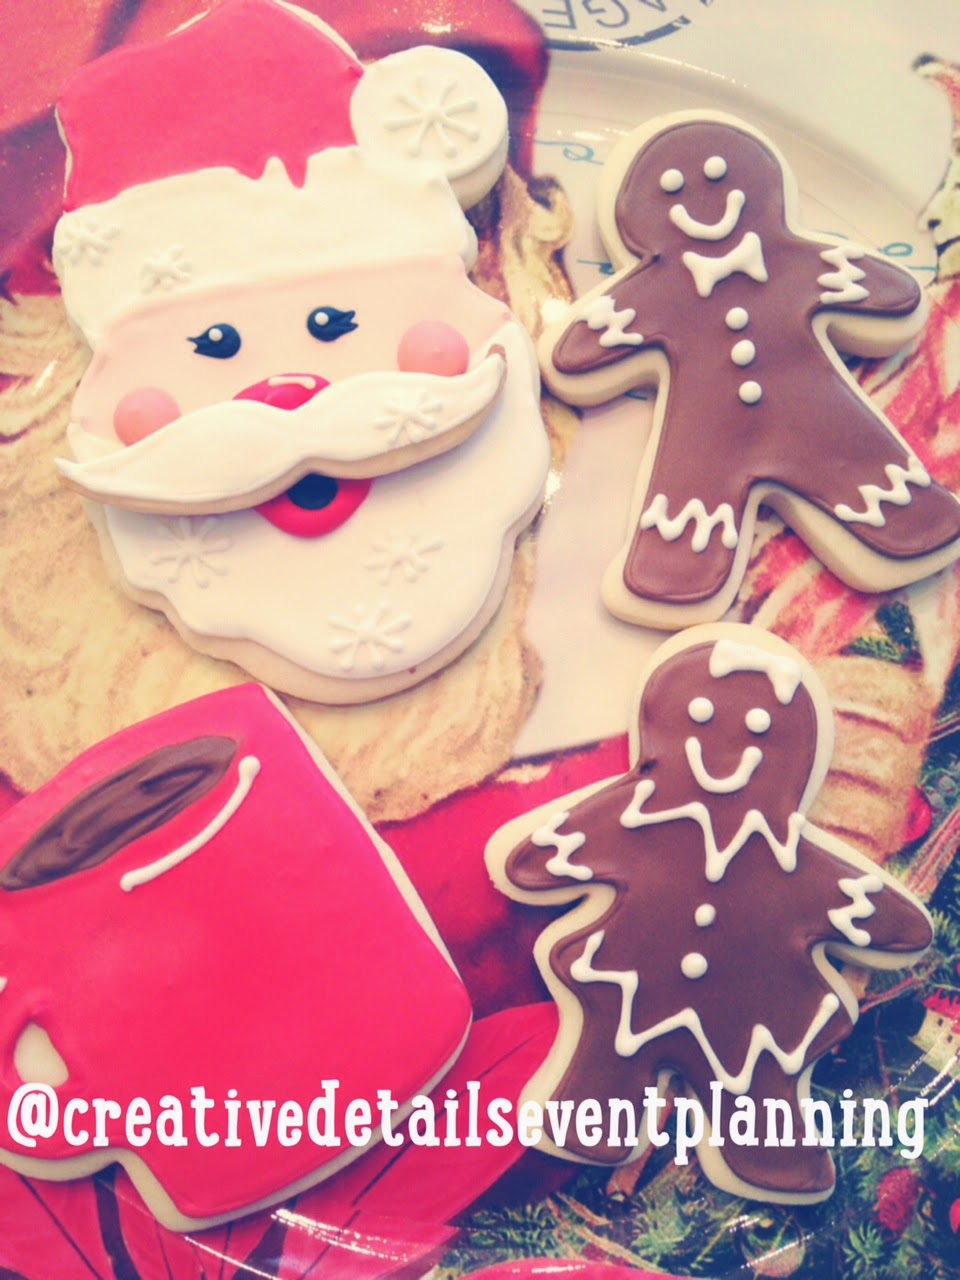
For the serving pieces, I had purchased a cute sled from a local shabby chic shop that I used to hold the hot cocoa mixes (milk chocolate and white chocolate) and the stir sticks for the hot cocoa (paper straws and candy canes).  The glass containers for the cocoa were both purchased at Michaels (use those 40% off coupons).  I also used a common piece from my parties, the wood cake stand from World Market to hold up a glass vase that held some brownie push pops.  For the filling of that vase, and to bring the table a bit more color, I purchased some green, red and silver decorative balls at Michaels.  I used some super cute milk bottles (see my DIY to make these on your own) to serve milk (with cute red and green paper straws from the Dollar Tree) along with some homemade sugar cookies, served on a tin platter from Michaels.  We had a large hot water carafe that we used for our last Christmas party that I wanted to be the centerpiece of the food/drink portion of the table.  To elevate that, I used a small wooden crate, from Michaels, and I stained it to make it look old and weathered (tutorial below).  For the hot cocoa toppings, I used a slab of wood, you guessed it, also from Michaels, and some festive sweater covered coffee/cocoa mugs from Target.  I filled each mug with toppings such as, dark chocolate chips, caramel bits, crushed Andies mints, french vanilla marshmallows, star and tree marshmallows and peppermint marshmallows.  In the center of the large slab of wood, I had some mini sleighs, that were meant to hold an individual cupcake, that I used to elevate some "ugly sweater" bowls that I used for the last Christmas party.  In those bowls were, whipped cream and marshmallow fluff.   I bought a simple, yet festive, tin at Michaels to put some styrofoam cups from the Dollar Tree.

For the food, everyone was asked to bring a dish to share.  We had cookies galore, meatballs and smokies in the crockpot, cheese and crackers, cream cheese dip, chips and salsa, and delicious ham and cheese sandwiches.

We asked everyone to dress in tacking Christmas attire.  Last party, we did ugly sweaters and this year, we didn't want to limit everyones creativity to just a sweater. There was a clear winner, Melinda, a good friend of ours had been harboring a Christmas dress that was by far the favorite of the night.  We spent the evening watching various Christmas movies and playing a game that involved a Santa hat, attached to the TV.  For this game, you take a Santa hat, attach it to the top corner of your TV.  Every time a character on TV gets in the position on the TV to where it looked like they are wearing the attached Santa hat, you take a drink (adult beverage or not).  Was a fun game and had the whole house yelling "HAT".

Over all, the party was very successful.  Everyone had a good time catching up and enjoying each others company.  Now on to planning the next party!  Stay tuned!

How to age wood with simple ingredients from home

You will need:

Large mason jar
Scissors
Steel wool
White vinegar
1/2 cup boiling water
2 tea bags (I used Lipton ice tea bags)
Clean paint brush
Non-treated wood project

In a large mason jar, place one piece of steel wool, cut into several little pieces.  Cover the steel wool completely with white vinegar and place the lid on the mason jar.  Let mixture sit at least 24 hours.   When 24 hours have passed, boil 1/2 cup of water.  Add 2 tea bags and allow to seep for 10 minutes.  When tea is done, using a clean paint brush, brush the entire surface of the wood with the tea mixture.  Allow to completely dry.  Once the tea is dry, use the steel wool as a brush and brush the tea stained wood with the steel wool/vinegar mixture.  You will begin to see it darken immediately, making it easy to see any missed spots.  You may leave it the way it is, or use a fine sander and sand very lightly over the aged wood.

Monday, December 8, 2014

Ugly Christmas Sweater Party and Peppermint Serving Platter Tutorial!!

I love Christmas!  I love decorating, I love family time, and I love throwing parties.  My last Christmas party, which I had been wanting to throw for a while, was the very popular Ugly Christmas Sweater theme.  It was special to me because, it was the first year, since my husband and I have been married that we had our very own Christmas tree.  Seems weird to some, but being a military family, we have moved 8 times in the past 6 years.  Crazy I know, but it never seemed to align where we had our own tree, let alone being able to host a party.  My husband had just gotten back from a 7 month deployment and we were on the list for a house on base.  We had a projected move in date of December 1st, but ended up not being able to move in until December 12th.  All fine and dandy, except the Christmas party I had spent months planning was December 17th.  To make a very long story short, we busted our rear ends and got the house completely unpacked in 4 days and the party was a total blast!  Hope you enjoy this party as much as I did planning it!

The party was potluck style, so everyone brought a dish to share.  We were in charge of the desserts (of course, my favorite), and BBQ meatballs in the crockpot.  All the food was delicious.  For the desserts, I made eggnog cupcakes with adorable fondant cupcake toppers that I made custom for the party.  We also had white chocolate dipped strawberries that resembled Santa hats, chocolate dipped pretzel rods and strawberry topped brownie bites, that when assembled, looked like Christmas trees.


 For the dessert table, I used a plain red table cloth and took a long piece of ugly sweater wrapping paper (from Target) and made a runner the length of the table.  For the backdrop, I covered a trifold poster board with the same ugly sweater wrapping paper.  In the center of the table was a small, fake Christmas tree with pinecones scatted on it.  I elevated the Christmas tree, so that it would be the focal point of the table, on a wood slab cake stand (from World Market).  I added large pinecones to the table and had an Ugly, Uglier and Ugliest banner that I printed at home.
We also had a hot chocolate bar where guests could choose different ingredients to add to their hot chocolate.  They could choose from chocolate dipped marshmallows, carmel, chocolate chips, peppermint sticks, etc.


To serve the desserts, I made super cute platters out of peppermints (tutorial below).  They were easy and really gave a unique appearance to the desserts.


Everyone showed up to the party with an ugly Christmas sweater.  Some were store bought and some were homemade, but everyone came looking very festive!  We held a contest for Ugly, Uglier and Ugliest sweater between the adults and kids and at the end of the night, votes were tallied and the winners were crowned.  We also had a photo booth set up where everyone could take photos using various props like antlers, santa hat, santa beard, elf hat, mistletoe, etc.


We had such a fun night and enjoyed the company of our friends and family.  So much so that we are throwing another Christmas party this year.  We are now in a new place, and the party theme is a bit different, but it has still been a blast to plan and will be even more fun to throw!  Here is a sneak peek of this years party, which I will share the week of Christmas.


Peppermint Serving Platters

You will need:

Red and green bag of peppermints
parchment paper
cookie sheet

Preheat the oven to 350*.  Place parchment paper on cookie sheet.  Arranged unwrapped mints in platter form desired (square, rectangle, oval, circle, etc.).  The mints will spread when they melt so leave an inch or so of a free boarder around mints.  Cook for 8-10 minutes.  Allow to completely cool before removing parchment paper.  Be very careful when removing parchment paper, as platters will be very fragile.